This page will be dedicated to my finished projects. It will include a short statement to describe the project. The statement will answer the following questions:
o What was the Project’s goal? What were you supposed to learn or do?
o List some of the tools you used in Photoshop
o What were some frustrations or challenges with the project, and how did you solve the problems?
o Did you enjoy the project (why and why not)?
o What was the Project’s goal? What were you supposed to learn or do?
o List some of the tools you used in Photoshop
o What were some frustrations or challenges with the project, and how did you solve the problems?
o Did you enjoy the project (why and why not)?
|
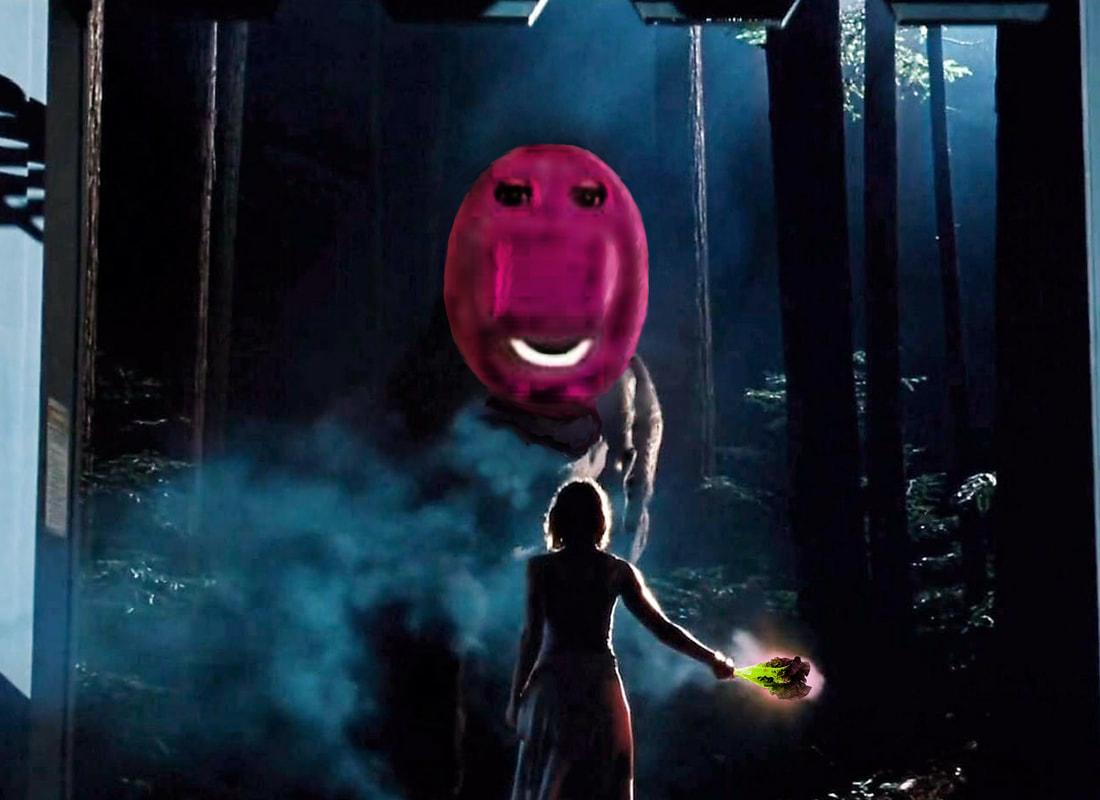
Hello everyone, once again! Sorry I missed last Fridays update do to being horribly sick. I am back and ready to update, this time on my Gallery page. This is my statement that has the following answers to the questions above about my Original Jurassic Park Parody. This project in my eyes was truly enjoyable, I had a great time working on it. I say this so because, I was able to use my imagination to change whatever I wanted in a scene of the movie and make it my own. This project was originally to take a scene from any Jurassic Park movie and make your own parody out of it. We were supposed to learn how to expand our minds, create something fun and to do to our best abilities of changing and adding whatever we wanted that was appropriate for school. We needed to try and use all the tools of Photoshop that we had learned in the tutorial and possibly try others that we had not discussed on yet. Some of the tools I used were the Healing Brush Tool, the Smudge Tool, the Lasso Tool, Free Transform, and the Blur Tool, along with so many more. Lastly, there was one specific challenge that drove me mad and that was darkening Barneys skin to match with the dark background and yet I feel it is still a bit bright for the picture. I fixed it by using a few tools a bunch like the Burn tool, the Healing Brush, and the Blur tool. It took maybe a class period to fix maybe not even then but, it was very frustrating as a perfectionist and beginner of the assignment to see the odd color involved with the seen and not knowing how to truly make it perfect like a professional.
|
|
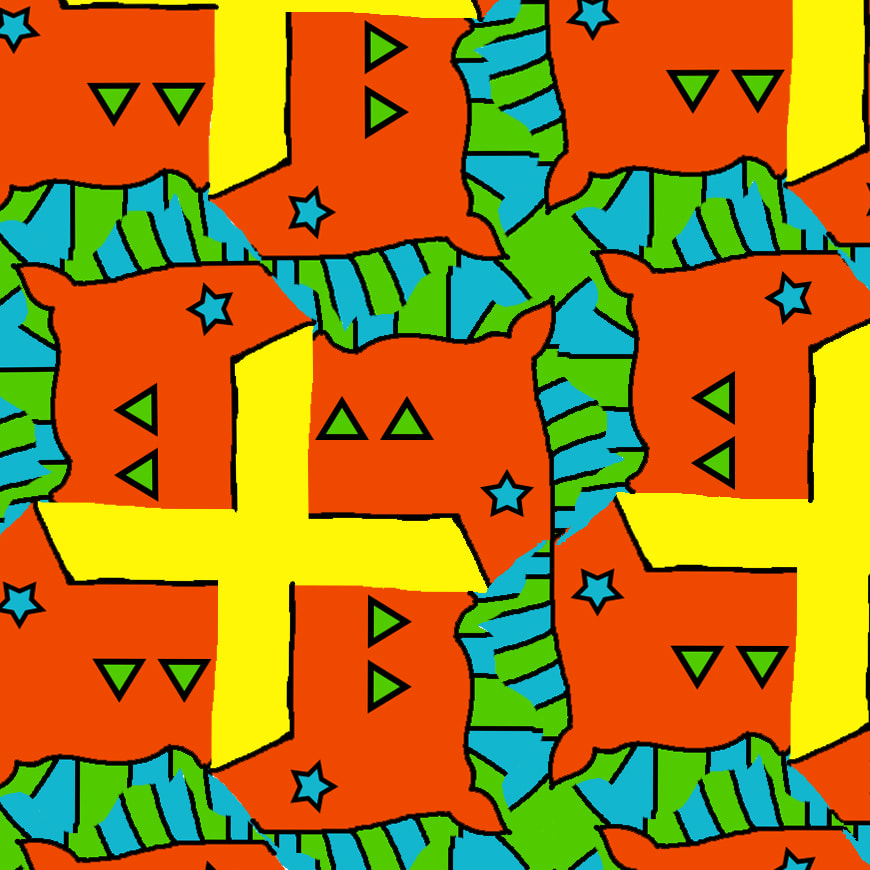
Hey guys, so this post is about Tessellation's. Tessellation is a process or art of tessellating a surface, or the state of being tessellated. I made a rotation tessellation. I used photoshop by using the pencil tool I drew out the figure and the lines inside it. Pulling to different sides out of the shape to create the hair and snoot look. I simply painted in the colors and duplicated and rotated around one another to leave no space and a cool design within one original.
|
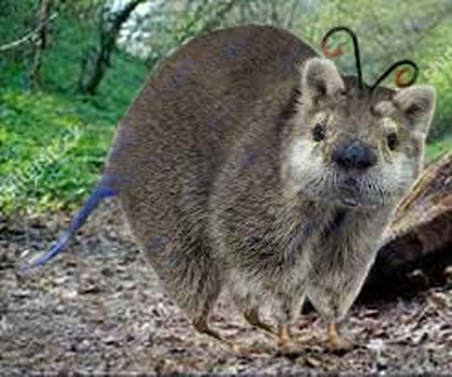
Hi everyone, once again I am updating to show off this mixed beast. Our assignment was to pick four types of animals, like mammals and such. I used a raccoon as my main body while using an otters face, birds feet, a lizards tail and a insects antennas. I used the raccoon originally because, raccoons are one of my favorite animals and they can be adorable. I used the otters face because its fur matched well and it seemed like it would look good on the body. I used the bird feet because I found like it would be a never before seen thing and it would look funny. I used the lizard tail because I found the color beautiful and I wanted to replace the raccoons original tail. Finally I used the insect antennas because I think it's an interesting mix personally.
I used some different tools like the smudge tool, stamp tool, paint brush and others. I used the smudge tool to blend the fur on the face between the two creatures. I also used the stamp tool to take the fur on the raccoon over the edges of and onto the otters face to give it a more realistic look. I used the stamp tool also for adding the lizard blue to the fur here and there to make it look like it's supposed to be apart of the body. I erased the feet and a bit of the legs to add the bird feet to the body and stamp and blend the fur over the connection points. I used the paint brush a bit to take away a bit of the appendages or the fur.
I used some different tools like the smudge tool, stamp tool, paint brush and others. I used the smudge tool to blend the fur on the face between the two creatures. I also used the stamp tool to take the fur on the raccoon over the edges of and onto the otters face to give it a more realistic look. I used the stamp tool also for adding the lizard blue to the fur here and there to make it look like it's supposed to be apart of the body. I erased the feet and a bit of the legs to add the bird feet to the body and stamp and blend the fur over the connection points. I used the paint brush a bit to take away a bit of the appendages or the fur.
|
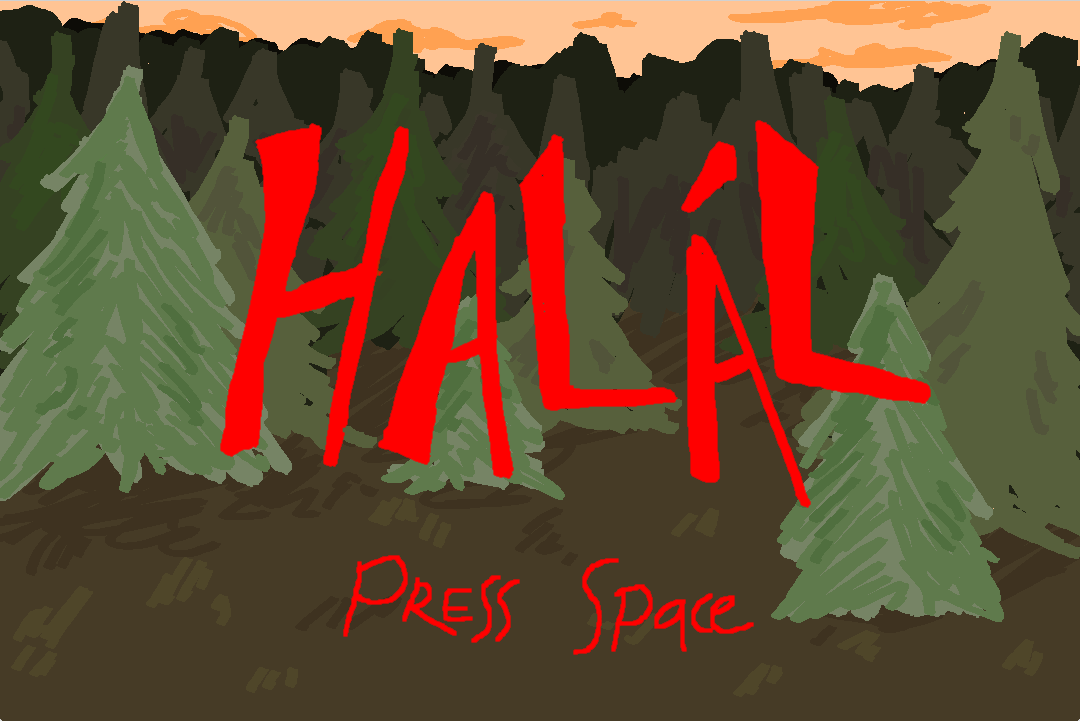
My partner and I have created a game called "Halál". It is set in the near future during an apocalypse. The main character must make it through the trashed monster infested city to her last surviving family member. Starting in the forest close to the edge of the city, she must fight off the monsters brought on by the apocalypse. Reaching the invested city, she must fight her way through the horde and make her way past the deformed gang that has claimed the city as theirs. Pass this city is a safe haven community that her last surviving family has claimed as their home and soon it will be hers too. Fight, sneak, and survive.
|

|
I did a happy flower in the sun turn sad when the weather changes into a rain storm from the sunny day that it was.
|

|
This is the original drawing I created as a GIF. Its a mermaid swimming sorta. It was a long but fun process.
|
|
This is my GIF that I have created off a mermaid swimming, like she's trying to keep herself afloat in one place. I used the puppet warp tool to move her limbs around and make into a movie.
|
